Using An Elevated Garden Bed
Are you planning a vegetable garden this year? Is your garden space less than ideal? If you want to grow vegetables when you have no space try this idea. I planted mine recently, and this project has a few twists that might be useful to you. Here is a way to grow vegetables when you have no space.
Our Elevated Vegetable Garden
In a semi-tropical climate, we planted this compact garden in February. So I can show you an early view of how it’s going. (With a full schedule of activities, this winter, we planted later in the season than we would have preferred.) I will show you how that affects our success as we progress.
The Things That Prevent Us from Starting A Garden
If your garden has issues of space, neighborhood regulations, hungry wildlife, small children, lack of time, or even your own mobility, our project might interest you. Here are the issues our garden faces and how we plan to grow vegetables when we have no space.
Does Your Garden Have These Problems?
- Not enough space.
- Burdensome neighborhood regulations.
- Lack of sun in the otherwise useful locations.
At our home, the above conditions exist; there are solutions to choose from: vertical gardening, raised beds, container gardening, and elevated beds. Here is how it worked out for us.
The Sample Garden-How We Grow Vegetables When We Have No Space
We are in sunny South Florida and winter is our prime season for vegetables. Summer humidity limits the produce we can raise during those sticky months. This is the situation:
- We live in an HOA with rules regarding growing food products and fruit.
- Our backyards are small.
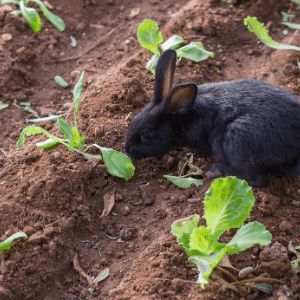
We have lots of hungry wildlife, including deer and rabbits.

Just a little snack.
The obvious place is inside a large screened, swimming pool enclosures. Can we make it work?

How Can We Find Enough Space?
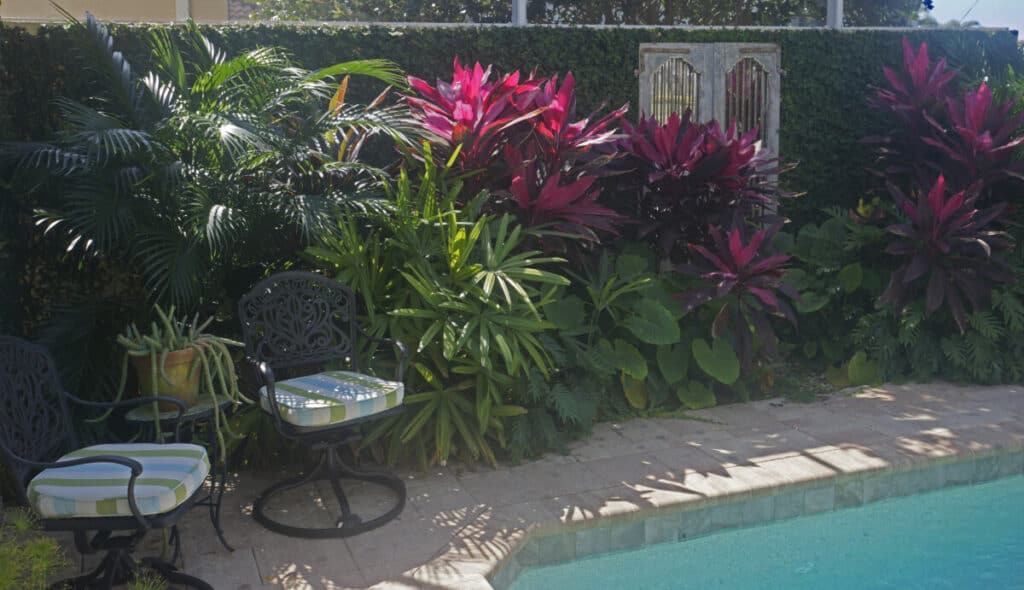
For HOA dwellers, in a warm climate, the answer is to steal a little room inside the screened swimming pool “cage”. This is a roof-tall extra room that warm climate dwellers use to enjoy the “indoor-outdoor” lifestyle we Floridians, both, brag & complain about. Look at the first photo, nice pool-but a little incongruous-right?
With big open-door spaces, you can cover the distance from kitchen sink to pool float in seconds!
Here are the pros and cons of what we are doing
| Pros | Cons |
| We are provided the space we need | No access to pollinators |
| This solves the HOA problem | The space is still small |
| The garden is in full sun | The garden needs to look good; it is in social space |
| Vegetables are very convenient to the kitchen | Need to prevent soil and drips near the pool |
| Not available to marauding animals | Squirrels may want to chew the screen* |
| We can control the soil | Expense and weight of soil |
*Some animals may be tempted to chew the screen, I’ll show you our plan to control that problem.
How We Grow Vegetables When We Have No Space-Our Little Solution
- An elevated garden bed. The model we chose is compact and attractive; it sits near the door and before a window. While I am writing I can reach out and pick something.
- The plants are easy to reach for planting, care, and harvesting. If you or a family member have mobility issues this solution will work.
- The size is 8’ long x 2’ deep.
- It is supplemented by a nearby herb garden-pests tend not to like herbal flavors.
- It is in “full sun”.
- Children, not toddlers, and the venerable, could use this planter.
Raised Bed Gardening-The New Way
I grew up on a farm with large vegetable gardens. We planted in the traditional rows, with space to walk and work between the crops. Enough space was not our problem. Deer and some remarkably innovative ponies were that garden’s enemy. As children, we picked warm tomatoes, fruit, and even corn for snacks. We shared the corn husks with the ponies, which may have contributed to the “garden pest,” problems. Early morning, after a “pony raid” on the growing corn, we would rub out the hoof prints with our boots, look our mother straight in the eye, and blame the deer!
“Intensive Gardening”-A New Idea?
Today the beautiful, long vegetable gardens I knew as a child do not work for the suburban or urban families who want the satisfaction of raising their own fresh vegetables. Enter the new concept of “intensive gardening”. This is massive container gardening, raised bed gardening, vertical gardening, even gutter gardening. It’s a new idea-right? Every third youtube channel covers it! Not so fast.
Intensive Gardens In History
The Hanging Gardens of Babylon

What they might have looked like.
The royal palace of King Nebuchadnezzar II was the crowning glory of the culture, but, so the story goes, it was big, bare, and boring. Amytis, married to the king, was homesick for the greenery she grew up with. What’s a king to do? Hire some engineers, build stone planting beds high in the air and raise up some water. They used a gear and screw apparatus like Archimedes and got the job done. The result, as they say, is garden history!
The Ancient Romans-City Villas and Armies to Feed
The Romans loved a garden too.

Above the pavers of Rome, villa dwellers planted rooftops and courtyards. Who could have a banquet without fresh vegetables? On the Marches, slaves followed the mobile armies and piped water, moved soil, and even developed on-the-spot pesticides to feed the encampments. I guess you’d call that intensive! An army travels on its stomach!
The Utility Of Raised Beds

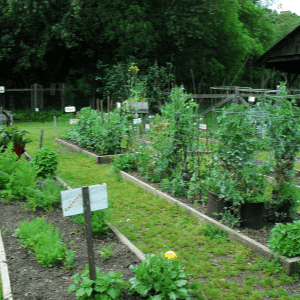
You can put them anywhere, next to the driveway, on poor soil, in a space stolen from the lawn. They allow you to grow vegetables in a site chosen for sun and your own convenience.
What Size Should A Raised Bed Be?
You can easily reach across a 2’ wide bed, and 4’ is perfect for most people if you can walk around and work from both sides of the planter. Make each bed only as long, as you can walk around conveniently. Most raised beds are only 6” deep. (The inventor of “Square Foot Gardening”, said that you can grow many crops in as little as 4” in depth.) Many beds are 1’ deep which allows for more root crops or plants with taproots. Be aware of the requirements of plants you would like to grow, even parsley has a deep taproot and needs a 12” minimum. Check before you buy the seeds.
Materials
Most planting beds are made of wood. Planting beds made from long-lived woods, such as cedar and cypress should last 10 years. I see metal beds and admire the longevity, but not in my climate.
Level Beds
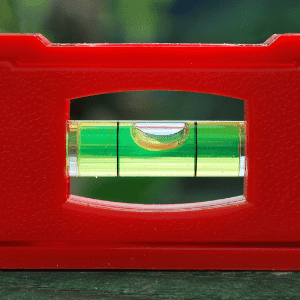
The garden beds need to be on level soil to prevent erosion, protect the plant roots, retain minerals, and avoid soggy knees. Work with a spirit level from the beginning.

Raised Bed Soil
Most experienced raised bed gardeners have a growing mix they swear by. Here is how to get yours. Take some advice from:
- A productive local gardener-someone who grows successfully near you and in an environment like yours. Try garden centers and your leading gardeners.
- Your county Agricultural Extension Service. It is a local arm of your state agricultural University. Here is how to find yours.
- This mix is from the popular TV show “Joe Gardener” This link will take you to the full article.
-the mix is
50% topsoil
30% compost
20% leaves, mineralized soil blend, worm castings, mushroom compost, ground bark, manure.
Elevated Planting Beds
Our bed is elevated to waist height, it is very convenient, but the manufactures of these beds “strongly” recommend using only lightweight potting mixes for obvious reasons. We filled our bed with 7 full, 64-quart bags of lightweight mix. (When lugging the bags, “lightweight” is in the eye of the lugger.) For a little more money we could have used much smaller bags. Think about what you can reasonably handle when buying soil, mulch, etc.
Setting Up The Bed
Our bed is a pre-made product in a box. We bought it from Gardeners Supply in Vermont. The complete kit arrives in two boxes, one medium rectangle and one very long. The long one is very heavy. If your delivery company will lay it down on a surface you can work from, in the garage, for example, you will only need to handle the individual parts which is no problem at all.
We carried ours through the house and set it up right on the patio where it would live. Every piece is pre-cut and you need few tools. I read a few complaints about the positioning of the predrilled screw holes. We had no troubles. The wood parts were of good quality. There are videos on assembly and planting you can use.
Here is my biggest complaint about this product; and you can handle it by being proactive. Our bed was to be shipped in February, so I followed up by phone. The product was backordered until late summer due to lumber shortages. In Florida, we are having a housing shortage, it is at least partially due to concurrent shortages in housing material. I was offered a switch from cedar to cypress which I accepted, and the product arrived quickly. Had I not called to check up…
Assembling The Planter
- Follow the instructions. They are accurate and there is a video. You can watch several videos before you buy. The quality of information is easily sufficient to make a buying decision.
- We assembled each long side and propped them against the wall. The sides are cypress and the legs, aluminum. The bed is 92” Long, 24” wide, and 10” deep.
- Assembled the short ends and put the rectangle together.
- The floor pieces slide in easily, they consist of pre-cut slats. Make even open spaces between the wood slats. Water needs to drain from the bed and you will not want the soil to go with it!
- Add the wide mesh black cloth, staple or tack it to the side walls or the weight of the soil will dislodge it. (In raised beds placed directly on the soil, some gardeners choose not to use the cloth, arguing that the plant roots can keep growing. In elevated beds, this is not an option. The cloth will reduce any mess underneath the bed.
- It helps to lay the bags of soil in the tray, cut them open with long cuts, and spread out the material. Dampening the layers of soil as we added them reduced any potential for mess.
- We positioned ours in front of a window and standing on the patio pavers, we used a heavy ridged layer of clear plastic under the bed. The planter has been in use for about 6 weeks and the clear plastic and reasonable care when watering is sufficient to keep the flooring neat. This is a good place for plants that require more shade.
Sun Conditions
Our pool area is in full sun and faces north. It’s bright! The pool screening material reduces the sunlight by 30%. The patio space was designed with an enclosed garden area and planters. The screening permits slightly more plant varieties to grow. This is the first vegetable garden in the space. Some neighbors keep a few potted plants, this is the first such elevated bed that I know of.
Placing The Plants
Sunlight suggests plant placement. Spinach, and delicate greens are next to the wall where they can be slightly shielded by more sun friendly plants.
Plant Selection and Placement
- Reasonably compact plants are best, compact tomatoes, peppers, look for compact labels.
- Compact berry plants and most herbs.
- Annuals & dwarf flowering or evergreen shrubs. These will provide a privacy screen if needed.
- Use sun-loving varieties to shelter those that require less sun.
- We may be excessively conservative, but this is the first planter and our rains will start in two months.
Square Foot Gardening-What Is It?
“Give a man a fish and you’ll feed him for a day. Teach a man to fish and you’ve fed him for a lifetime.”
-Attributed to Confucius
Square foot gardening is what happens when someone with a lively mind retires with time on their hands! It was invented by an American Engineer named Mel Bartholomew in the 1970’s when he retired and joined a community garden.
We loved the long rows of vegetables we grew up with, walk, hidden, between tall rows of corn to get tomatoes, plenty of room to manuover. But if space is tight, something has to give. Mel wanted to produce more food on less land and with less water. He globalized his thinking, and developed this goal:
“End world hunger, one square foot at a time.” He was apparently fond of the famous Confuscius quote.
How To Learn Square Foot Gardening
This fortunately is very doable. The Bartholomew family established a foundation. Go to its website and the process is explained. If you would like to do this for a school or community you can even search by your zip code for a certified instructor in your area. You can also buy a book on the site.
How Is Our Garden Progressing?
It is now early April and our bed, planted in February is productive. The food is delicious and, yes I made a few errors.
February, in South Florida was perfect for greens and we are harvesting a large variety.
Loose Lettuce-Lactus sativa
Delicious, reasonably long lasting, easy to repeat, leaf lettuce comes in flavorful varieties to harvest at mealtime.
Growing Loose Lettuce
It prefers a cooler climate and the seeds will not germinate in temperatures above 80. Harvest by cutting leaves one at a time, from the outside of the stem. When trimming crowded plants, just trim pieces for the salad bowl. Nothing is wasted. When the flower stem extends itself, the plant is beginning to bolt and the flavor will become progressively more bitter. Use it as long as you enjoy it.
Our Results So Far
My sample is small, and my evidence is anecdotal but this is what we are learning. This lettuce is so flavorful that I will risk adding another set of small plants this week. Early April is late season in our climate, but it is worth the risk as the small plants from the local garden center are quickly productive. Of the varieties, all of which we like, the red romaine seems to have the longest life span.
The spinach has a delicate flavor you cannot find in the stores. Nasturtium blooms work well in salads or floating on cold soup.
We have small strawberries, pretty but not yet productive.
Herbs For Elevated Beds
Herbs cannot be grown more easily or more conveniently than in raised beds. Try herbs of your choice. We are raising one of the dwarf varieties of dill, also Genovese basil, Italian oregano, and some lovely soft sage in this bed. You can use this survey of culinary herbs to make some selections for your spring herbs.
Tomatoes
Two varieties of determinate tomatoes* are in pots inside the pool cage, safe from hungry predators. We are using the strongly scented Cuban oregano, in pots near the screen. This is the strongest scented herb we can grow, and it seems to be discouraging to wildlife. It is useful in the kitchen too, here is how to do it. “What to do with Cuban oregano.” Parsley, this useful herb is biannual, so we start a plant or two each year. The plants outdoors are under screening material and still can be attacked. The indoor plants have an easy life so far and are pretty enough to be decorative.
(*Determinate tomatoes grow to a fixed mature size and are suited to tight spaces.)
This is the new challenge to face with the elevated planter. As the season heats up, we will need to make changes. Some Floridians give up on summer vegetables and go to cooler climes. We will continue this planter as it has a decorative function too!
My Most Notable Error
Water! I watered by hand with a multi-patterned hose sprayer and thought I controlled the quantity fairly well. However, I drowned the beautiful little seed-grown radishes of two varieties. Those started in a pot are doing well. It appears that overwatering is a genuine risk!
Warm Season Plantings
Read next month for a follow-up, on this page, and don’t miss “This month in the South Florida Garden” also. This monthly report includes what to plant and tasks do by month. the link goes to April, Just search by month name for whatever month you want.
